Arctic Explorer Expedition: No-Stress Parent Planner
Let's be real, you want to throw a memorable backyard hunting party without it becoming your second job. Here's the no-fluff guide to pulling off an Arctic Explorer Expedition with minimal fuss and maximum fun.
The Actual Prep Clock: What You're Really Looking At
Let's ditch the fantasy that you'll whip this up in 15 minutes. For a decent Arctic Explorer hunt, where you're not scrambling last-minute, budget 45 to 60 minutes for setup. This isn't just printing clues; it's cutting them, laminating if you're feeling fancy (and expecting precipitation), and then the actual, tactical hiding. Factor in a dry run if you're using a new space or have particularly clever kids who might break your sequence.
Your biggest time sinks will be: first, deciding on hiding spots that make sense for the 'arctic' narrative – you need to think beyond just 'under the bush.' Second, preparing any physical props or rewards if you choose to go beyond printables. And third, mentally mapping the flow. Nobody wants kids running back and forth across the yard because a clue sends them from one end to the other and immediately back again. Plan a loop or a progression.
Materials Sourcing: Home Goods, Dollar Store Wins, and What to Skip
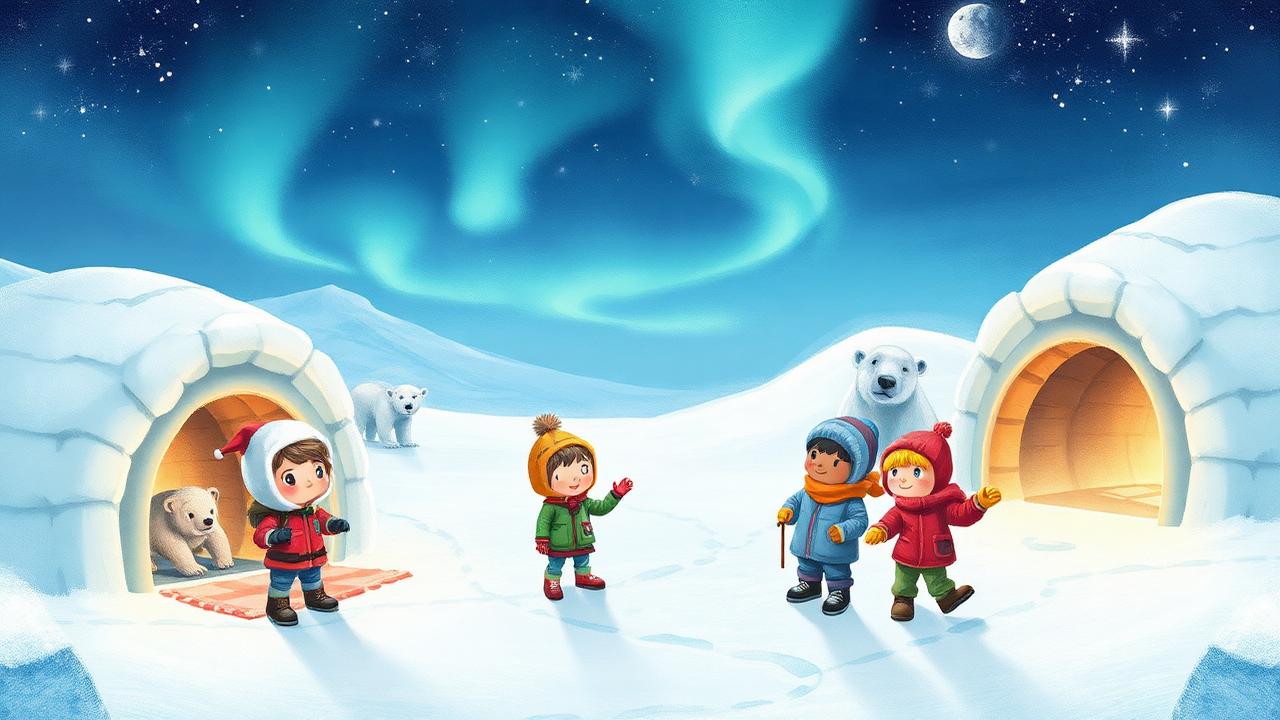
Good news: most of what you need for an Arctic Explorer hunt is probably already kicking around your house. Think white sheets or blankets for 'snowdrifts,' blue towels or tarps for 'frozen lakes,' and any stuffed animals resembling polar bears, penguins, or seals. These are your freebies. Don't go buying new ones unless you truly don't have anything suitable; kids are masters of imagination.
Your dollar store run should focus on consumables: maybe some blue or white balloons for 'ice bubbles,' a few rolls of aluminum foil for 'shiny ice caves,' or even some cotton balls for 'fresh snow.' The key is cheap, effective, and readily available. Skip anything that requires assembly or specialized tools. Your goal is 'easy win,' not 'craft project gone wrong.'
What to skip? Anything that feels like overkill or a one-time use item unless it's genuinely cheap. Those elaborate plastic igloos? Fun, but unnecessary. Focus on creating atmosphere with what you have and supplementing minimally. The kids are going to be more focused on the hunt itself than the hyper-realistic set dressing.
Contingency Planning: Ice, Heat, and Small Spaces
So, you planned a beautiful outdoor arctic trek, and then... it rains. Or it's unexpectedly 90 degrees. Have a backup. For rain, the Arctic Explorer theme transitions surprisingly well indoors. White sheets over furniture become snow-covered mountains, blue blankets on the floor are frozen rivers. Hide clues in laundry baskets (ice cracks!), under cushions (snow drifts!), or inside empty tissue boxes (polar bear dens!).
If it's hot, embrace the 'melting arctic' angle. Maybe some clues are 'trapped' in ice cubes (use a freezer) that need to be melted. Or incorporate water play – a kiddie pool becomes an arctic ocean for retrieving floating clues. The key is to lean into the unexpected rather than fight it. Adjusting the narrative is easier than rescheduling.
For small apartments, think vertically and strategically. Use high shelves as 'mountain peaks' and under beds as 'deep crevasses.' The hunt becomes more about observation and meticulous searching in a confined space, rather than covering vast distances. It can even add a layer of 'survival in close quarters' to the arctic theme.
Capturing Moments: Without Being the Paparazzo Parent
You want the shots, but you don't want to interrupt the flow of play with 'Look at me!' and 'Do that again!' The trick is anticipation. Set up your phone or camera in a static spot where you know the kids will eventually converge for a clue. Get wide shots as they approach, then put the camera down or switch to video as they furiously search. You'll get more authentic moments.
Another tip: designate *one* parent or a willing older sibling as the official (and discreet) photographer. Their sole job is to document. This frees you up to manage the hunt and engage with the kids. Don't try to do both simultaneously; you'll either miss the shot or miss the fun. Or, just accept that some moments won't be perfectly framed, and that's okay.
Consider using a small action camera or even an old phone mounted somewhere if you want to be completely hands-off. You can get unique perspectives without hovering. The goal is to collect memories, not to win a photography award. Authenticity beats perfection every time when it comes to kids' play.
Post-Hunt Recharge and Reset: Under 10 Minutes
The hunt's over, the kids are hyped, and you're thinking about the mess. Don't sweat it. Setup for an Arctic Explorer hunt is generally low-mess. Clues are paper, props are mostly blankets or existing toys. Designate a 'drop zone' for all collected clues and props as part of the hunt's finale. A bucket or a specific 'explorer's pack' can be where everything goes as they find it.
Once the adventure concludes, the cleanup is usually a rapid sweep. Gather the clues, fold the blankets, put away the stuffed animals. If you used dollar store trinkets, most are likely recyclable or easily tossed. The key is to use minimal, reusable, and easily stowable items. Your main task will be rounding up the victorious explorers for refreshments, not tidying a full-scale arctic disaster zone.
Frequently asked questions
Honestly – how much will this Arctic Explorer hunt cost me?+
If you're strategic, this hunt can be nearly free, relying on household items. Expect to spend $5-$10 max at a dollar store for a few fun, consumable props like balloons, cotton balls, or foil. The main 'cost' is your time, which we've budgeted for.
What if I only have 20 minutes to prep this expedition?+
In a pinch, 20 minutes means you're going bare-bones. Print the clues, quickly hide them in obvious spots, and use existing items as 'arctic' markers. Skip any elaborate setup or prop placement. The kids will still have fun with the core hunt and discovery.
Can I run this as an arctic-themed birthday party activity for 6+ kids?+
Absolutely! For a larger group, double or triple clue sets (color-coded for teams) to prevent bottlenecks. Assign team leaders, and make the 'arctic' environment larger. This scales very well, providing a fun, active party segment.
Will an Arctic Explorer hunt work in a small city apartment?+
Yes, it's completely adaptable. Focus on vertical hiding spots and making the kids really search their environment. Turn furniture into 'icebergs' and 'mountains.' Small spaces can add a fun challenge of meticulous searching rather than just running.
What if my planned outdoor arctic adventure gets rained out?+
No problem! This hunt easily moves indoors. Use sheets for snowdrifts, blue blankets for frozen lakes. Hide clues in unexpected indoor spots like under laundry baskets or inside toy bins. The 'arctic' theme is surprisingly flexible for weather changes.
More adventures like Arctic Explorer Expedition: No-Stress Parent Planner
Explore more backyard scavenger hunt ideas
Hand-picked themed quests and seasonal adventures families love most.
Build your own Arctic Explorer Expedition: No-Stress Parent Planner
Generate a fully personalized version of Arctic Explorer Expedition: No-Stress Parent Planner — woven around your child's name, age, favorite characters and special touches, all inside this exact storyline.
Create This Custom Hunt →